Over the past few years I’ve struggled in investing financially and emotionally into home furnishings. Perhaps, and thankfully, it was my inner-self warning that I had frequent and long-distance moves in my future. However, now that I have found my happy place, I’ve decided to invest in my surroundings.
As bachelorette’s we all have a pimped out daydream of what we’d love to do with our homes. If we all had it our way, our pad’s would be drenched in Pinterest-inspired and (always) well-executed DIY projects that would make your friends drool. Yep. They’d be green with envy for your interior.
If you’re anything like me, you’ve definitely put in your time pinning these projects, but when it comes down to it you haven’t been ready to invest… or the project looks to hard or time-consuming… or you’re certain it would turn out to be a big fat Pinterest fail. Well, we’re putting a stop to that. I’m here to be your DIY Pinterest Bachelorette Pad martyr. I need to get my place glammed up for my super fabulous year ahead.
We don’t all have Real Housewives of Beverly Hills budgets to get the job done, so, Pinterest. Game on.
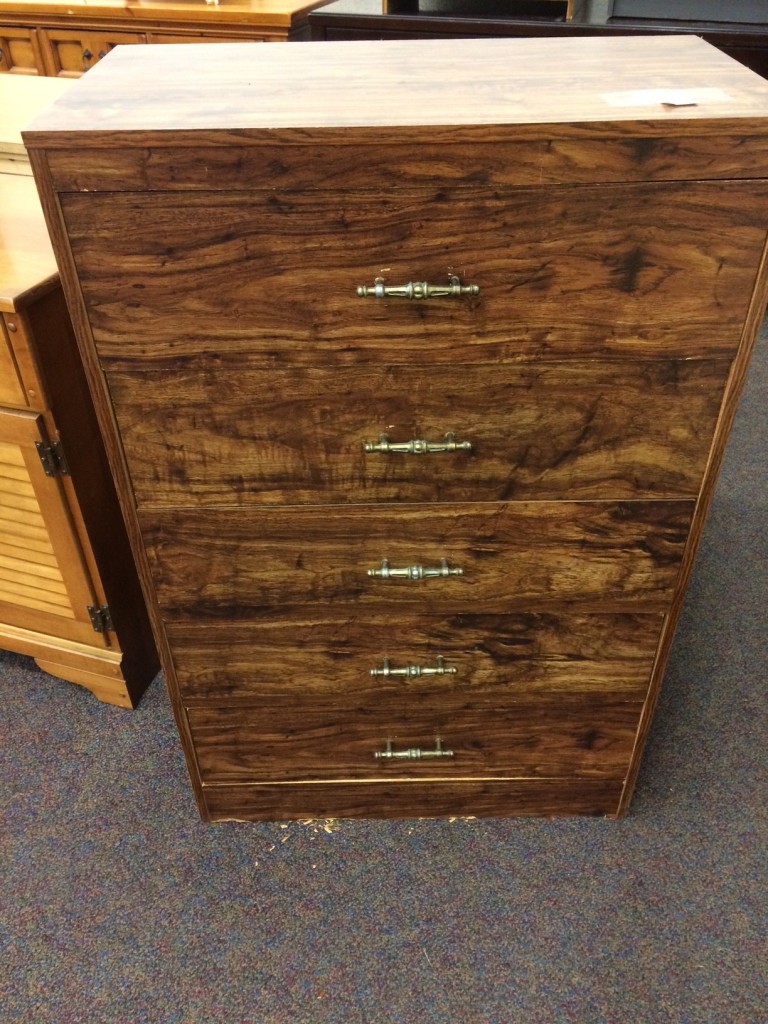
Today I took on one of my first projects. I’ve been needing a tall chest of drawers for my bedroom since storage for my ever-growing wardrobe has busted the seams of my closets. I can’t seem to find a chest of drawers at a furniture store that fits my style standards AND my budget.
I found this chest of drawers at my local Salvation Army for $59.98. Now, buyer beware: as I passed the “all sales are final” sign and swiped my credit card, the lady at the counter tells me that their entire store is 50% off every Wednesday. “Oh. You mean I could have purchased this for $30 in 4 days? Awesome.”
Now, let’s talk vision and details. Last year, I splurged on bright pink sheets. THIS is my inspiration for this dresser. This is my chance to tie the sheets into my color scheme. So I stopped by Home Depot and dropped a cool $33.97 on this stuff (minus the hammer and drill, which I already had at home):
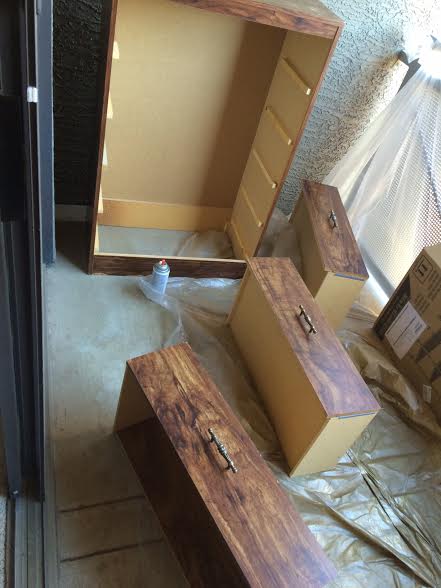
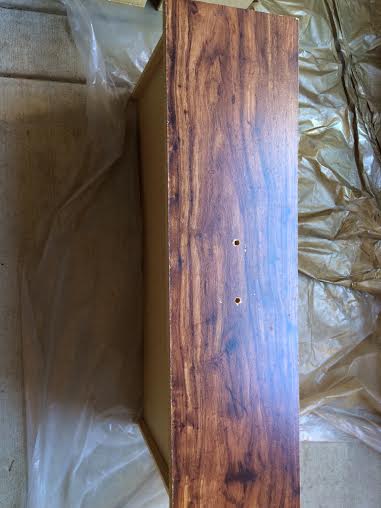
To get started on the rehab, I removed the drawers from the dresser and the hardware from the drawers. Then I gave all of the pieces a light sanding with the sandpaper sponge I had purchased.
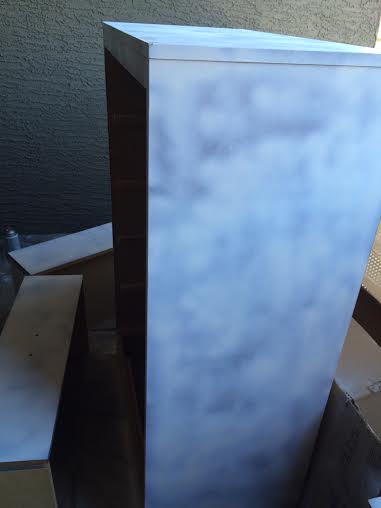
I started painting with a spray can primer in white. I wanted my pink to end up being light and bright. If you’re wanting a darker finish, feel free to use a black primer underneath. This was SUPER fast and easy to use. I probably passed over the each piece twice with the spray to coat it thoroughly enough.
Now, the project comes down to some good old fashioned painting. Two coats did the job for covering this piece, and it took me about an hour to get it covered.
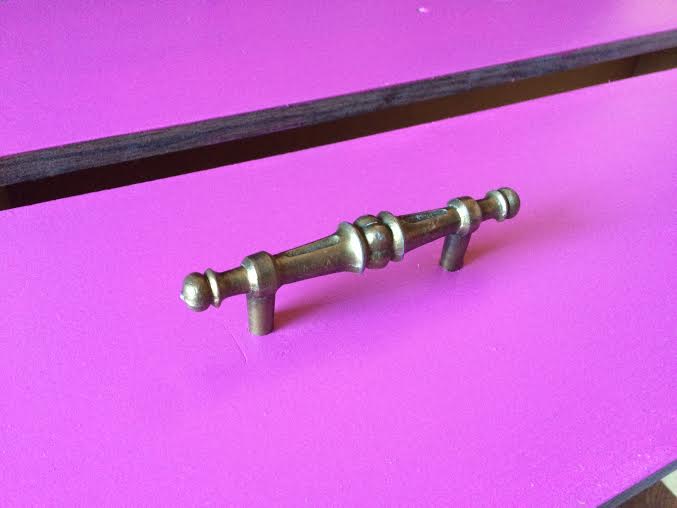
Once I felt like the pieces had dried enough, 45 minutes to an hour, I added the original hardware back to the drawers. I had originally wanted to do some new, sassy drawer pulls, but I ended up deciding the original pulls were swanky enough.
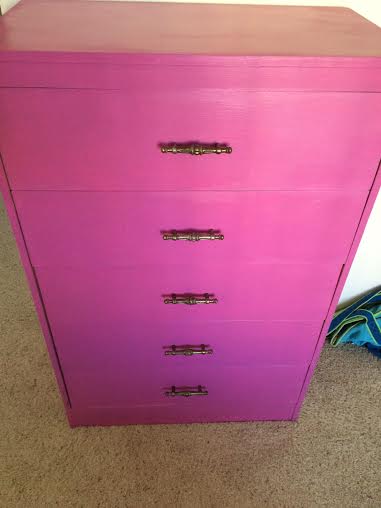
And that’s about it. Once the drawers were put back into the dresser, I was left with a pretty glammed up piece for my bedroom. This project was extremely easy to pull off both on effort and time.
Don’t be intimidated to pimp your bedroom a bit.
I look forward to Pinterest’s next challenge.

